
Best Water for Off-Grid Coffee: Filter vs Stream
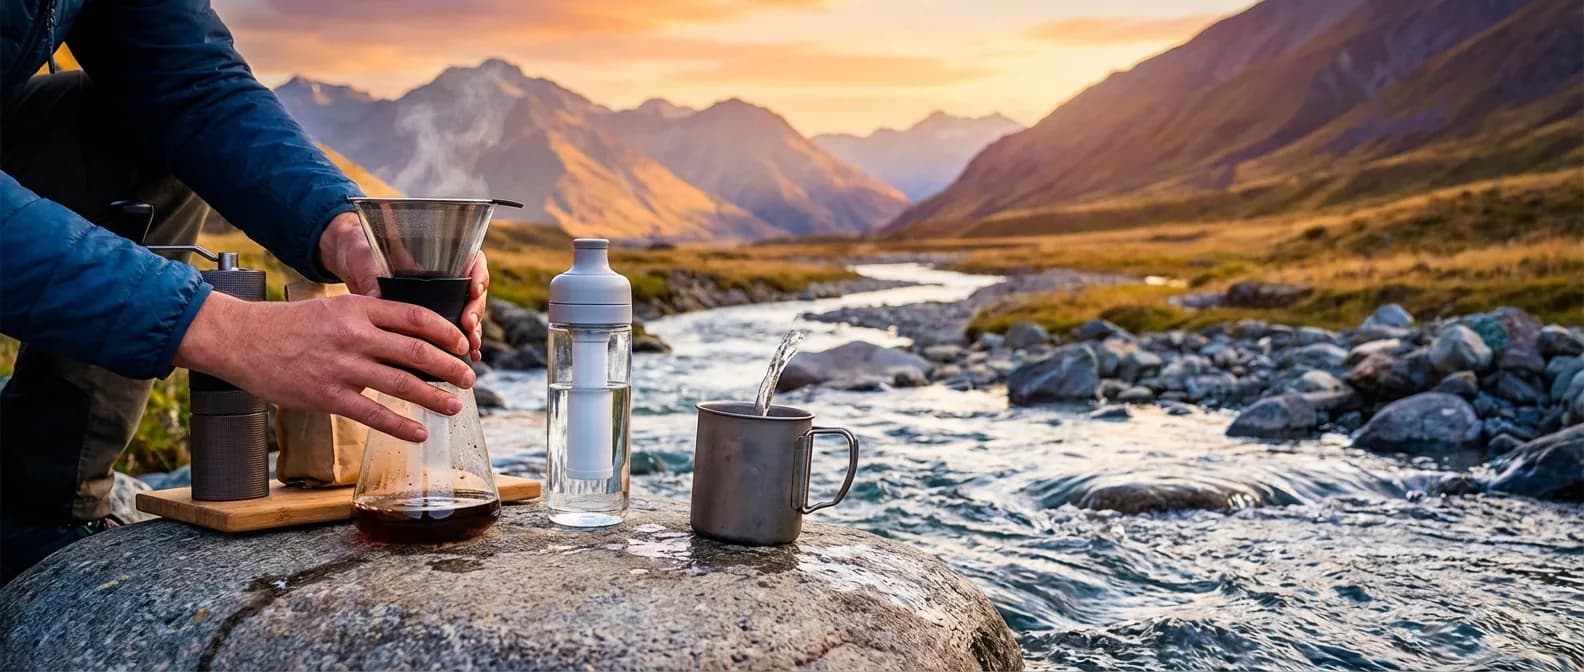
Table of Contents
- The Foundation of a Great Brew: Why Water Quality Matters
- Sourcing Wild Water: Streams, Lakes, and Springs
- Filtration vs. Purification: Choosing Your Method
- The Role of Mineral Content in Off-Grid Extraction
- Practical Gear: Top Recommendations for Nomad Brewers
- Off-Grid Water Management: Tips and Tricks
- Common Pitfalls to Avoid
- Frequently Asked Questions
The Foundation of a Great Brew: Why Water Quality Matters
When you’re waking up in a remote campsite, the sound of a nearby stream and the smell of fresh air set the perfect stage for a morning coffee. However, that coffee is roughly 98% water. While we often obsess over the roast profile of our beans or the precision of our hand grinders, the water we use is the primary solvent responsible for pulling those delicious oils and acids out of the grounds. Off-grid, you don't have the luxury of a filtered tap or a grocery store nearby for distilled water. You are at the mercy of your environment, which means understanding the chemistry of your water is the first step toward a world-class cup in the wilderness.
The challenge with off-grid water isn't just about safety; it’s about extraction. Water that is too "hard" (full of minerals) can result in a chalky, dull cup of coffee because the water is already saturated with minerals and can’t "hold" the coffee flavors. Conversely, water that is too "soft" or completely distilled can lead to over-extraction, making your coffee taste harsh, bitter, and unpleasantly acidic. When sourcing from a stream or a lake, you are dealing with a wild variable that changes based on the local geology, recent rainfall, and even the time of year.
Understanding how to bridge the gap between "safe to drink" and "good for coffee" is the hallmark of a true nomad brewer. You aren't just looking to avoid pathogens like Giardia or Cryptosporidium; you are looking for water that has the right balance of magnesium and calcium to highlight the fruity notes of a light roast or the chocolatey depth of a dark roast. In this guide, we will explore how to transform wild water into the perfect brewing medium, ensuring your off-grid coffee tastes just as good—if not better—than your favorite local café.
Sourcing Wild Water: Streams, Lakes, and Springs
When you are deep in the backcountry, not all water sources are created equal. A fast-moving mountain stream is generally the gold standard for off-grid coffee. Because the water is moving quickly over rocks and gravel, it is naturally aerated and often undergoes a degree of natural filtration. These sources are typically lower in organic matter (like decaying leaves or algae) compared to standing water. However, even the clearest stream can harbor microscopic threats. The "clarity" of the water is never a guarantee of its biological safety, but it is a great indicator of how much work your filter will have to do to make it palatable for coffee.
Lakes and ponds present a different set of challenges for the nomad brewer. Standing water tends to accumulate more organic compounds, which can impart an "earthy" or "swampy" taste to your coffee—flavors that even a high-end filter might struggle to completely remove. If a lake is your only option, try to source water from a spot where there is some movement, or reach as far from the shore as possible to avoid the concentrated sediment near the banks. Using a pre-filter, like a simple coffee filter or a piece of cloth, can help remove the larger particles before you run the water through your primary filtration system, extending the life of your gear.
Natural springs are the "hidden gems" of the off-grid world. If you find a spot where water is bubbling directly out of the ground, you have likely found water that has been filtered through layers of earth and rock for years. This water is often rich in the exact minerals—magnesium and calcium—that coffee lovers crave. However, the caveat remains: unless you are at the very source, assume the water needs treatment. Even a few yards downstream from a spring, wildlife may have introduced contaminants. Always prioritize safety, but if you have a choice, the mineral profile of spring water will almost always beat out the flat profile of melted snow or the heavy organic load of a stagnant pond.
Filtration vs. Purification: Choosing Your Method
In the world of off-grid travel, people often use the terms "filtration" and "purification" interchangeably, but for a coffee brewer, the distinction is vital. Filtration typically refers to removing biological pathogens like bacteria and protozoa (the "bugs" that make you sick). Most portable filters, like hollow-fiber membrane systems, are excellent at this. They leave the mineral content of the water intact, which is actually a benefit for coffee extraction. If you are brewing in North America or Europe in high-elevation areas, a high-quality filter is often all you need to turn a clear stream into excellent coffee water.
Purification goes a step further by removing or neutralizing viruses and, in some cases, heavy metals and chemicals. This is often achieved through UV light, chemical treatments (like iodine or chlorine), or electroadsorption. While purification is essential in areas with high human impact or in developing countries where waterborne viruses are a concern, some methods can negatively affect your coffee’s flavor. For example, chlorine tablets will make your expensive single-origin beans taste like a swimming pool. If you need to purify your water, look for systems that use carbon filtration to remove those "off" flavors after the purification process is complete.
For the nomad brewer, the goal is to find a balance between safety and taste. A system that combines a physical filter with an activated carbon element is often the best choice. This setup removes the dangerous pathogens while the carbon scrubs out tannins, chlorine, and other odors that would otherwise mask the delicate notes of your coffee. Below, we compare the two most popular styles of water treatment for travelers.
Comparison of Water Treatment Methods
| Method | Best For | Pros | Cons |
|---|---|---|---|
| Hollow Fiber Filter | Backpacking & Clear Streams | Lightweight, fast flow, preserves minerals | Doesn't remove viruses or chemicals |
| Sawyer Squeeze | Long-distance trekking | Extremely durable, fits standard bottles | Requires manual squeezing effort |
| Grayl GeoPress | International travel & Overlanding | Removes viruses and chemicals, easy to use | Heavier, replacement cartridges needed |
Practical Gear: Top Recommendations for Nomad Brewers
Choosing the right gear depends on your travel style. If you are counting every gram in a backpack, you need something ultralight that can handle high volumes of water. If you are van-lifing or overlanding, you might prioritize speed and the ability to handle more questionable water sources. Regardless of the tool, the goal remains the same: clean water that doesn't ruin the flavor profile of your beans.
{{PRODUCT_CARD:B00B1OSU4W}}
The Sawyer Squeeze is a legendary piece of kit in the outdoor community, and for good reason. I recommend it to nomad brewers because of its incredible versatility and "set it and forget it" reliability. It uses a 0.1-micron absolute hollow fiber membrane filter that removes 99.99999% of bacteria and protozoa. For the coffee lover, what makes this stand out is that it doesn't strip the water of its natural minerals, which are essential for a full-bodied extraction. It’s best for backpackers and minimalist campers who are sourcing water from relatively clear mountain streams or lakes.
The standout feature of the Squeeze is its longevity; with proper backwashing using the included syringe, this filter can last for a lifetime of camping trips. It’s also incredibly lightweight and can be used as an inline filter with a hydration bladder or screwed directly onto a standard PET bottle. The only real drawback is the effort required—squeezing the bags can be a bit of a workout for your forearms after a long day of hiking. Additionally, while it handles biological threats perfectly, it won't remove chemicals or viruses, so it's less ideal for urban travel or areas with heavy agricultural runoff.
{{/PRODUCT_CARD}}
{{PRODUCT_CARD:B07H19Y77N}}
The Grayl GeoPress is the "gold standard" for the nomad who doesn't want to worry about what's in the water, no matter where they are in the world. I recommend this specifically for international travelers or those who may have to source water from murky or high-traffic areas. Unlike standard filters, the GeoPress is a purifier. It uses electroadsorption and activated carbon to remove not just bacteria and protozoa, but also viruses, heavy metals, and chemicals. This is a game-changer for coffee because the carbon element also removes the "swampy" taste often found in stagnant water, giving you a clean slate for your brew.
The standout feature is the "One-Press" design. You simply fill the outer shell, push the inner press down, and in about 8 to 10 seconds, you have 24 ounces of clean, safe water. It’s incredibly intuitive and robustly built. The main drawback is the weight and the recurring cost of the filter cartridges, which need to be replaced every 250 liters (or sooner if the water is very silty). It’s heavier than the Sawyer, making it better suited for overlanding, van life, or basecamp setups where you aren't as concerned about pack weight. Compared to alternatives, it provides the most comprehensive protection in the fastest time.
{{/PRODUCT_CARD}}

The Role of Mineral Content in Off-Grid Extraction
Once your water is safe, we need to talk about the "coffee science" of your wild source. Coffee extraction is a chemical reaction. Magnesium ions (Mg2+) are particularly good at pulling out sharp, fruity flavors, while Calcium ions (Ca2+) tend to highlight heavier, creamier notes. Most wild water sources are naturally "soft" (low in minerals) if they come from rain or snowmelt, or "hard" if they have traveled through limestone. If you find your off-grid coffee tastes flat or sour despite using a good brew method, your water likely lacks the mineral "muscle" to pull the flavor out of the bean.
If you are in an area with very soft water, such as the Pacific Northwest or high alpine regions, you might actually benefit from adding a tiny pinch of minerals back into your water. Some nomad brewers carry "Third Wave Water" packets or a small dropper of mineral concentrate to ensure consistency. However, a more "nomad" way to handle this is to adjust your brew parameters. For soft water, try a slightly finer grind or a higher water temperature to encourage more extraction. The lack of minerals means the water is "hungry," but it needs a little help from heat and surface area to get the job done.
On the flip side, if you are brewing in the desert or areas with heavy limestone (like parts of the Midwest or Texas), the water might be too hard. This will result in coffee that tastes like "nothing" or has a dry, astringent finish. In these cases, your best bet is a filter with a strong carbon element, like the Grayl GeoPress, which can help temper some of the mineral intensity. Alternatively, diluting the local hard water with a bit of melted snow or rainwater (if properly filtered) can bring the mineral concentration back into the "sweet spot" for coffee.
Off-Grid Water Management: Tips and Tricks
Managing your water supply is just as important as the filtration process itself. One of the best pro tips for the nomad brewer is to always "pre-settle" your water. If you are sourcing from a silty river or a lake after a rainstorm, let the water sit in a collapsible bucket for 30 minutes before filtering. The sediment will settle to the bottom, which prevents your expensive filter from clogging prematurely. This simple step can double or triple the life of your filter cartridges and ensure your coffee doesn't have a gritty texture.
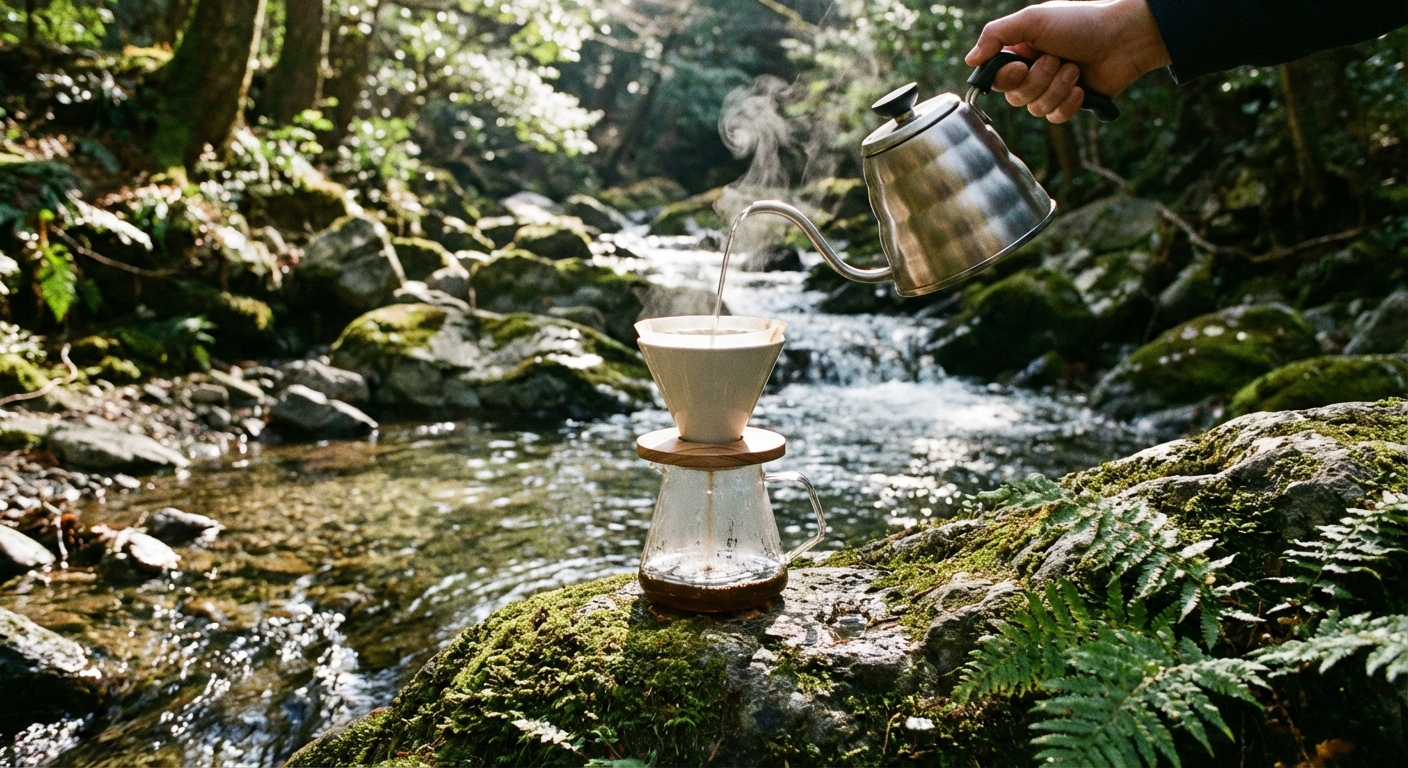
Temperature management is another critical factor. While it’s tempting to just boil your wild water and call it a day, boiling alone doesn't remove sediment or chemicals, and it can actually concentrate minerals as some water evaporates. Furthermore, if you boil your water and then immediately pour it over your coffee, you risk scorching the grounds. For most manual brewing methods like the AeroPress or a pour-over, you want your water between 195°F and 205°F. In the off-grid world, this usually means bringing the water to a boil and then letting it sit for about 30 to 60 seconds before you start your brew.
Finally, consider your storage. Plastic jerry cans or cheap bladders can impart a "plastic" taste to the water over time, especially if they sit in the sun. For the best-tasting coffee, try to filter your water immediately before you plan to use it, or store it in stainless steel or BPA-free containers kept in the shade. Clean water is a sponge for odors; if you store it next to your fuel canister or your dirty laundry, don't be surprised if your morning cup of Ethiopian Yirgacheffe has a hint of "unleaded" or "sweaty sock."
Common Pitfalls to Avoid
One of the most common mistakes nomad brewers make is over-filtering their water. While it sounds counter-intuitive, using a ZeroWater-style filter that removes all Total Dissolved Solids (TDS) will actually result in a very poor cup of coffee. As mentioned earlier, coffee needs some mineral content to facilitate extraction. Distilled or RO (Reverse Osmosis) water often results in a cup that is "bright" to the point of being sour and lacks any body or sweetness. If you are using a high-end purification system that strips everything, you must add minerals back in to get a balanced brew.
Another pitfall is neglecting filter maintenance while on the road. A clogged filter doesn't just slow down your morning routine; it can become a breeding ground for bacteria if left damp and dirty in a warm van or backpack. Always backwash your filter (if applicable) and let it air dry as much as possible before packing it away for long periods. For systems like the Sawyer Squeeze, a quick flush with a tiny bit of bleach water before long-term storage will keep it fresh and ready for your next adventure.
Lastly, don't ignore the "smell test." Even if your filter makes the water safe to drink, it might not make it taste good. If the water has a strong sulfur or metallic smell after filtration, it’s going to show up in your coffee. Coffee is an incredible aromatic, but it can't hide major water flaws. If the local source is truly pungent, it might be worth a short hike to find a different tributary or relying on your stored "emergency" water for your morning brew. Your beans (and your palate) will thank you.
Frequently Asked Questions
Can I just boil stream water for my coffee instead of filtering it?
Boiling is highly effective at killing biological pathogens like bacteria, viruses, and protozoa, making the water safe to drink. To be safe, you should bring the water to a rolling boil for at least one minute (three minutes at high altitudes). However, boiling does nothing to remove physical debris, silt, heavy metals, or chemical contaminants. For coffee brewing, boiling alone often leaves you with "crunchy" water full of sediment that can ruin the mouthfeel and flavor of your cup.
Furthermore, boiling doesn't address the taste issues caused by tannins or organic matter. If you are sourcing from a forest stream, the water might be safe after boiling but still taste like "boiled leaves." Using a filter like the Sawyer Squeeze or a purifier like the Grayl GeoPress removes the physical particles and "off" flavors, providing a much cleaner base for your coffee. Ideally, you should filter first to remove debris and then heat the water to your desired brewing temperature.
Does the mineral content of mountain water change the grind size I should use?
Yes, the mineral content—or lack thereof—significantly impacts how you should grind your coffee. Mountain water, especially from snowmelt, is often very "soft" (low TDS). Soft water is less efficient at extracting flavors, which can result in a sour or weak cup. To compensate for this, you should use a slightly finer grind size to increase the surface area of the coffee, allowing the "softer" water to extract more efficiently.
If you find yourself in an area with "hard" water (high mineral content), the water is already crowded with minerals and may struggle to pull out the delicate acids of the coffee, leading to a dull or bitter taste. In this scenario, a slightly coarser grind can help prevent over-extraction of the harsher, bitter compounds. Always do a "test brew" when you change locations to see how the local water is interacting with your specific beans and equipment.
How do I know if my water filter is still working properly?
For most hollow-fiber filters like the Sawyer Squeeze, the primary indicator of a failing filter is flow rate. As the microscopic pores become clogged with silt and bacteria, the water will flow much slower. If you find yourself squeezing with all your might for just a few drops, it’s time to backwash the filter. If backwashing doesn't restore the flow, the filter may be reaching the end of its life or is "scaled" with mineral deposits.
For purifiers like the Grayl, the "press time" is your indicator. When it takes significantly longer than the recommended 10 seconds to press the inner sleeve down, the cartridge is nearing its end. It’s also important to check for any physical damage, such as cracks in the housing. If a filter has been dropped or frozen while wet, the internal membranes can crack, allowing pathogens to pass through. If you suspect your filter has frozen, it is no longer safe to use and should be replaced.
Is it safe to use "Glacier Silt" water for coffee?
Glacier silt, also known as "rock flour," consists of extremely fine particles of rock ground up by glacial movement. While it isn't inherently toxic, it is incredibly difficult to filter and can be very hard on your equipment. These tiny particles will clog a standard 0.1-micron filter almost instantly. If you must use silty glacial water, you should use a "flocculant" or let the water sit in a container overnight to allow the silt to settle at the bottom before attempting to filter the top layer.
Even after filtration, glacial water can have a very high mineral load that makes for a "heavy" or chalky-tasting coffee. It is generally better to find a clear side-stream that isn't fed directly by a melting glacier. If you have no other choice, be prepared to backwash your filter after every single liter of water processed. The effort required to get clean water from glacier silt often outweighs the reward of the coffee itself.
Can I use a regular charcoal pitcher filter (like Brita) for camping?
A standard charcoal pitcher filter is designed to improve the taste of already-potable tap water by removing chlorine and some heavy metals. It is not designed to remove bacteria, protozoa, or viruses from wild water sources. Using a Brita-style filter on a stream or lake is extremely dangerous, as it will leave all the harmful pathogens in the water, potentially leading to severe illness.
For off-grid brewing, you need a filter specifically rated for backcountry use (like the Sawyer) or a purifier (like the Grayl). These are engineered to handle the biological threats found in wild water. If you like the taste-improving qualities of a charcoal filter, many backcountry systems (including the Grayl) include an activated carbon stage specifically to handle the "wild" tastes of stream water while also ensuring the water is biologically safe to drink.
Our Top Picks for 2026
We've spent hours researching and testing to find the absolute best options currently available.

Odoland Camping Coffee Pot Camping Coffee Makers, 1.2L Camping Kettle with Camping Mug and Camp Coffee Filter of Camp Cookware for Hiking Backpacking and Picnic
- The Perfect Camping Coffee Maker Set - The stove top coffee maker set come with 1 camp kettle (1.2L), 1 camping mug and 1 camping coffee percolator. It's the perfect choice for a couple quick cups of coffee.
- Sturdy Material - The camping tea kettle is made of hard anodized aluminum which provide the maximum power. Coated with a non-stick for easier use and clean up. The ergonomic handle wrapped up in insulated plastic protects your hands from heat. A continental spout allows for the steam to exist and avoid the risk of scald injury. Also comes with a lid knob which can easily put down and up.
- Fast Heating - This camping coffee & tea pots can be used with gas tank and firewood. Fast heating, boiling a full pot of water takes less than 5 minutes.

STANLEY All In One French Press Coffee Maker 32 oz | 5 Minute Brew, 4 Hours Hot | Mesh Filter for Coffee Grounds | Insulated Stainless Steel French Press | BPA-Free | Stainless 32 oz Stainless Steel
- Note: 1)Too coarse a grind, too little coffee, or insufficiently tamping the grounds before brewing can all lead to inadequate pressure for a proper brew. 2)It is important to note that the amount of espresso extracted will vary depending on the grind size and amount and reprogramming may be needed when the size and amount are adjusted
- BOIL + BREW + COOK: Whether you need a fresh cup of coffee or are looking to heat up some soup to warm your bones, this sleek and streamlined French press brews, boils, and cooks, in a large 32 ounces container.
- TOUGH AND DURABLE: Built with super durable and BPA-free 18/8 stainless steel this coffee maker is nearly indestructible. It heats up quickly over a stove or campfire, so you fill your mug quickly at home or while camping.
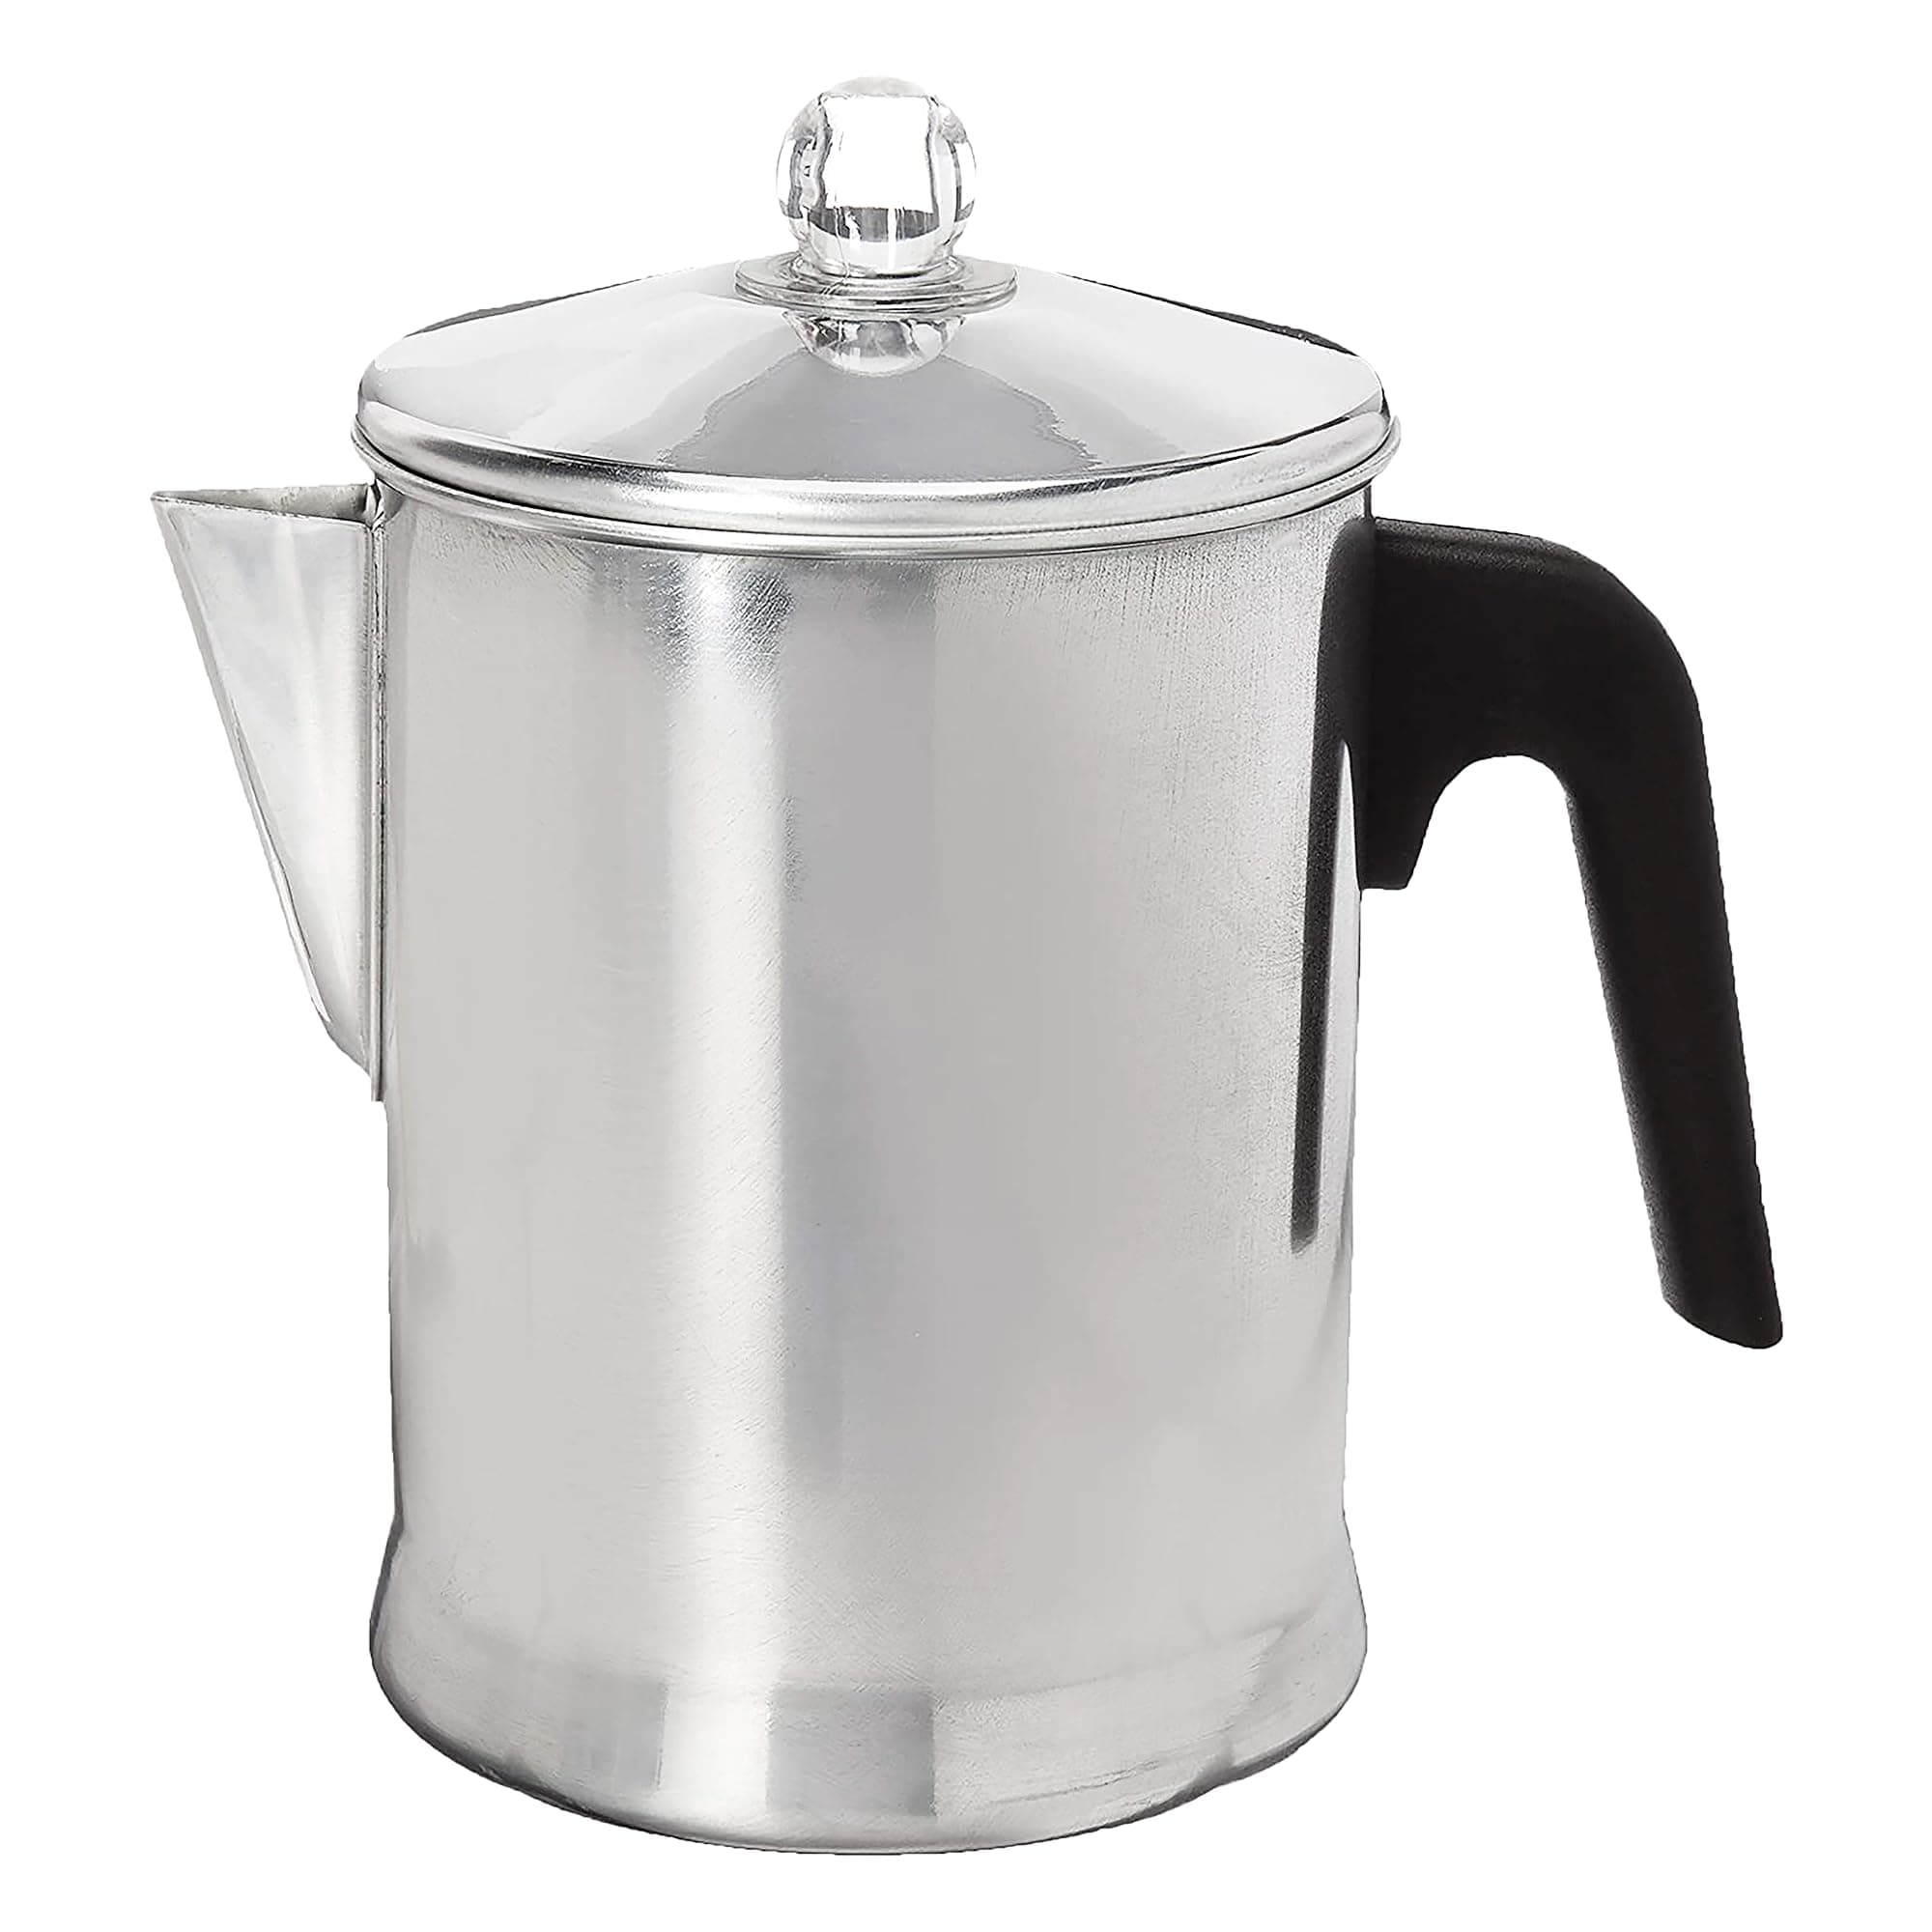
Primula Today Aluminum Stove Top Percolator Maker Durable, Brew Coffee On Stovetop, 9 Cup, Silver
- Note: 1)Too coarse a grind, too little coffee, or insufficiently tamping the grounds before brewing can all lead to inadequate pressure for a proper brew. 2)It is important to note that the amount of espresso extracted will vary depending on the grind size and amount and reprogramming may be needed when the size and amount are adjusted
- BETTER BREWING - Primula’s 9-cup Coffee Percolator is compact, easy to use, and delivers nine (9) cups of rich, smooth Coffee in one pot. Perfect for everyday use and for large gatherings at home or around the campfire.
- EASY TO USE- Simply fill the lower chamber with water, Fill the filter with ground coffee, and place on stovetop. Within minutes, delicious, bubbling cups of coffee will fill your pot. Remove from heat and enjoy.